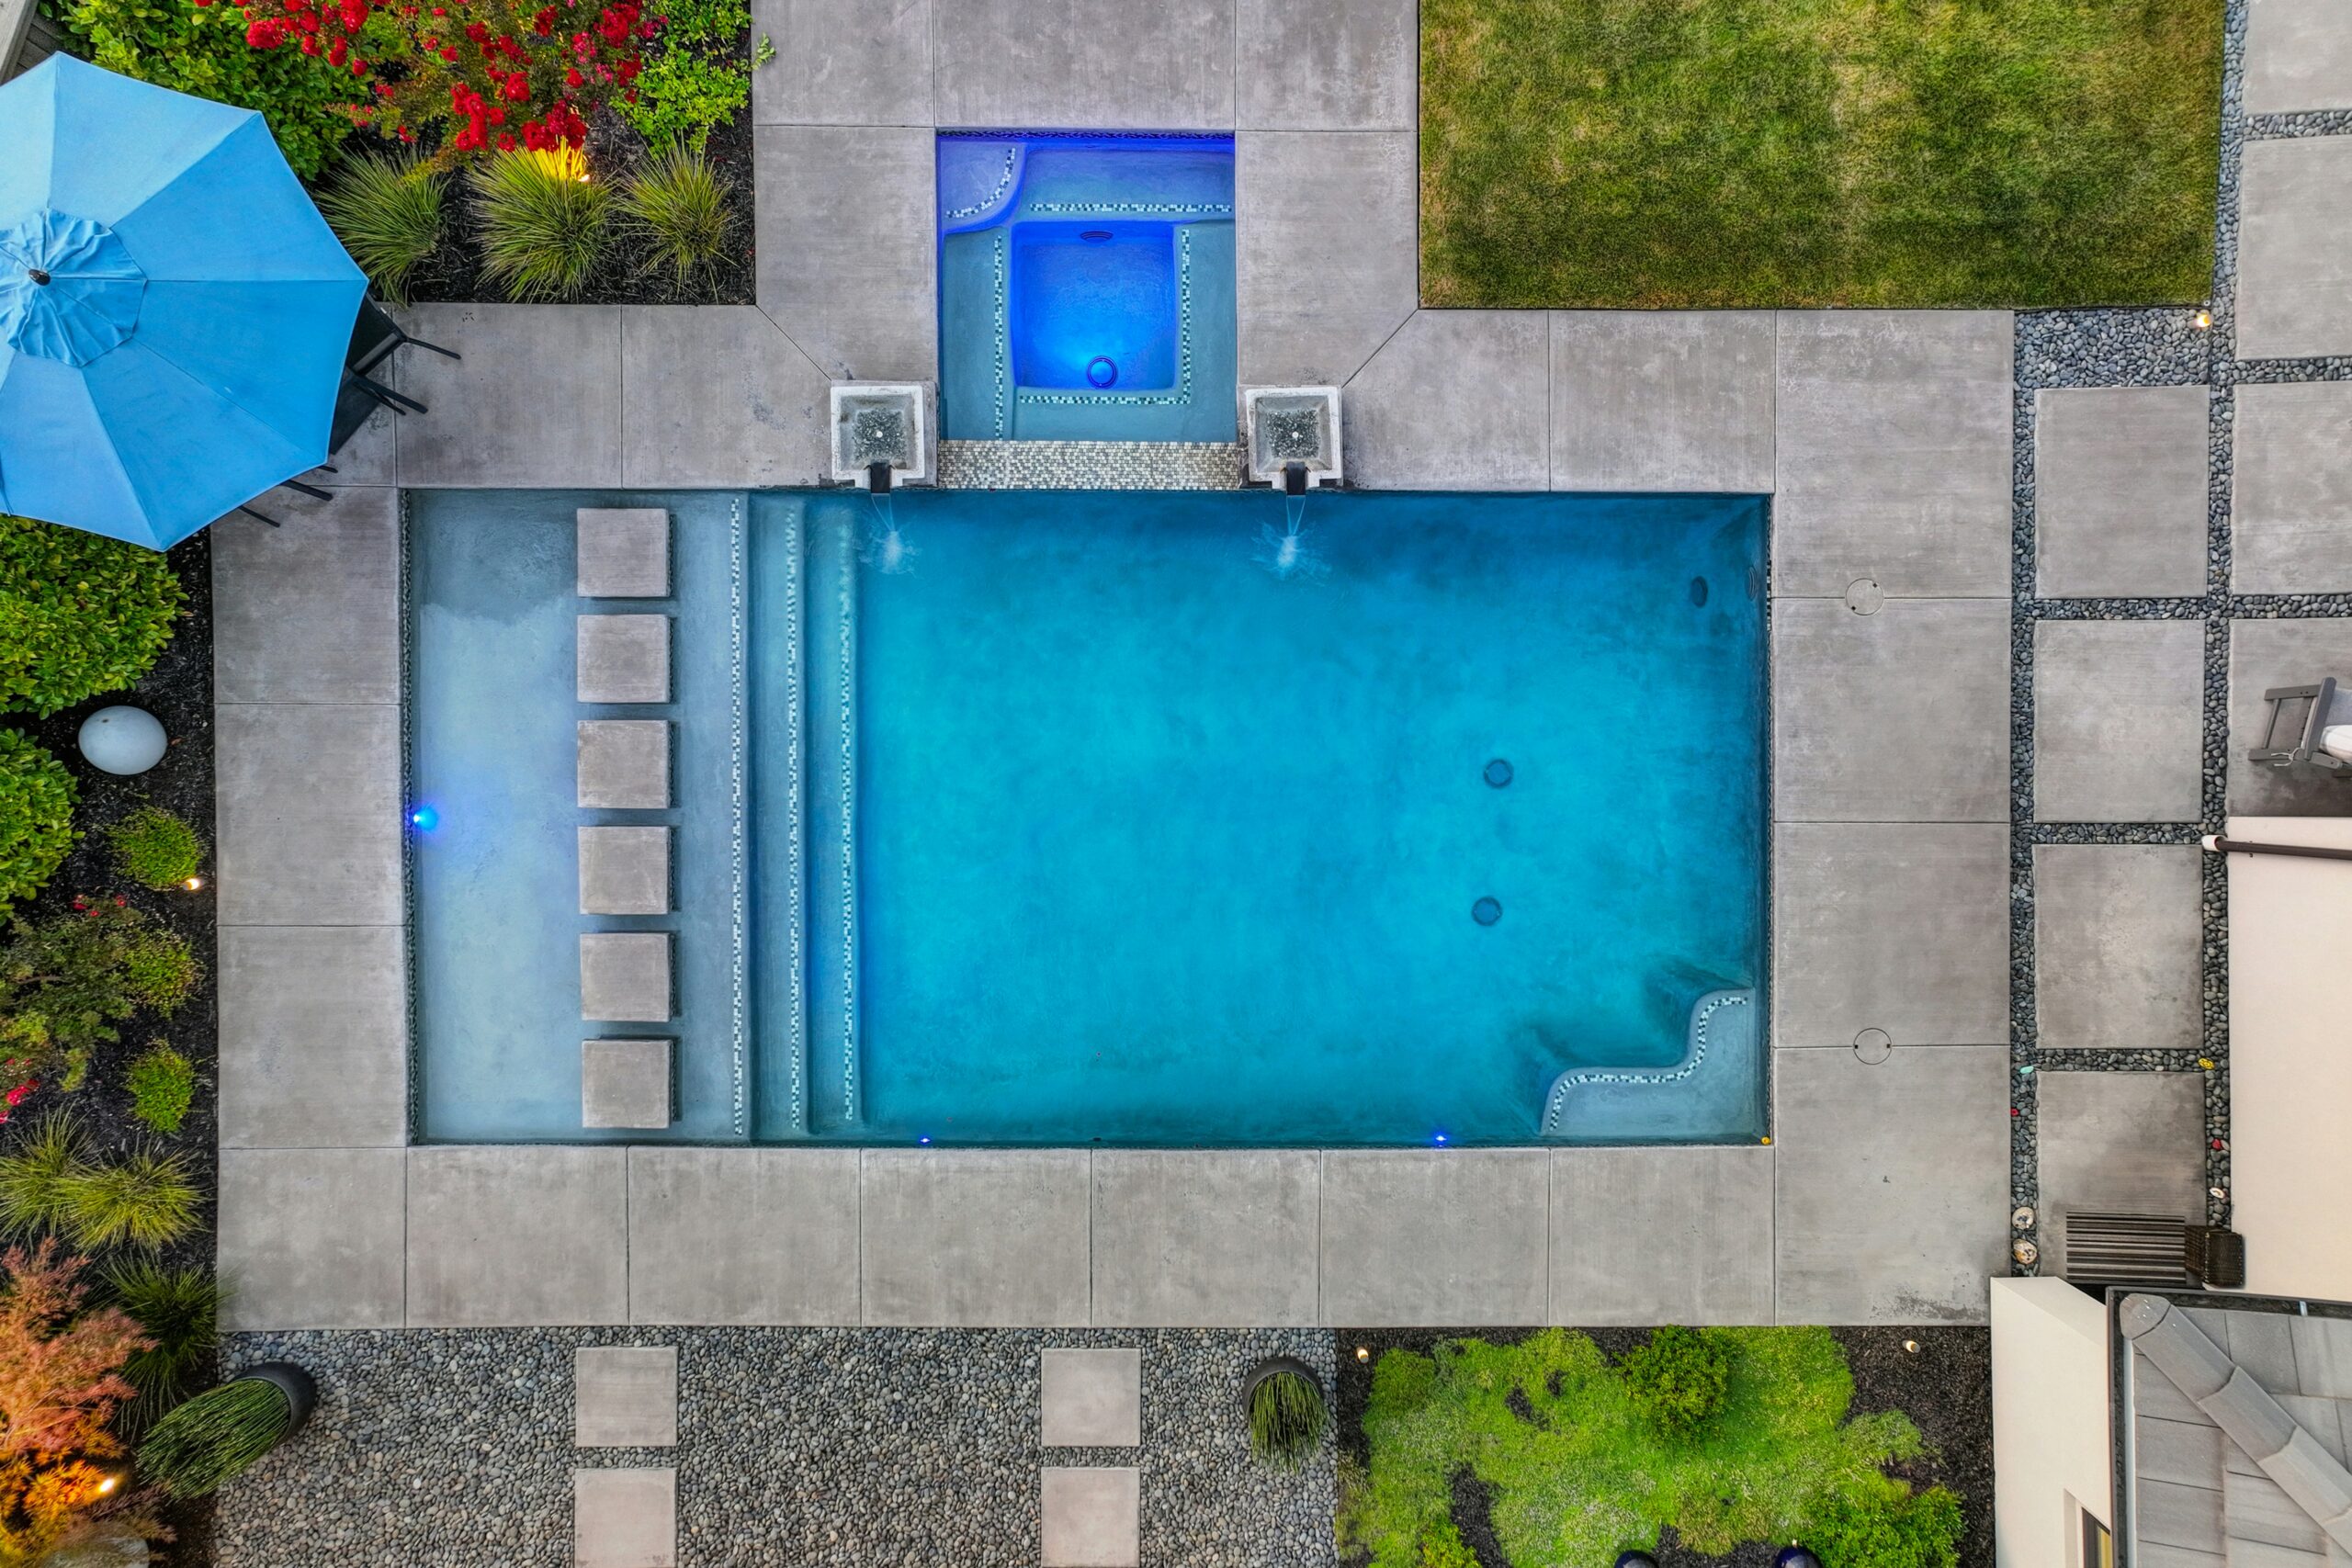
Inground Pool Installation Steps: A Simple Guide for Homeowners

Thinking of turning your backyard into a refreshing escape with an inground pool? Great choice! But if you’re not sure where to begin, don’t worry. We’ve broken down the inground pool installation steps into simple, easy-to-understand language. Whether you’re just curious or seriously planning a project, this guide will help you understand what goes into installing an inground pool from start to splash!
Why Choose an Inground Pool?
Before we discuss further, let’s quickly talk about why people go for inground pools:
- Long-lasting and durable
- Increases property value
- Beautiful and customizable
- Perfect for large families or frequent swimmers
Now, let’s break it down.
Step 1: Planning and Designing Your Pool
Every pool project begins with a plan.
Steps Involve:
- Choose the type of inground pool: concrete, vinyl liner, or fiberglass.
- Decide the shape, depth, and size that fits your space.
- Get help from a pool designer or contractor to make it all come together.
Step 2: Getting Permits and Approvals
Before digging starts, you may need permit and approvals from local government.
Steps Involve:
- Apply for local building permits
- Check zoning laws, safety codes, and property boundaries
- Schedule inspections, if required
Step 3: Excavation – Digging the Hole
This is where things get real—your backyard gets a big hole!
Steps Involve:
- Heavy machinery digs out the pool area based on your design
- Soil is removed or saved for later backfilling
- Ground is leveled and prepped
Step 4: Pool Base and Structural Setup
The base is what keeps your pool strong and in shape.
Steps Involve:
- Install steel rebar (for concrete pools)
- Set up a gravel or sand base (for vinyl or fiberglass pools)
- Form the pool walls and floor
Step 5: Plumbing and Electrical Work
Let’s not forget the brains behind the pool.
Steps Involve:
- Install water pipes for circulation
- Place drains, skimmers, and return lines
- Add lighting, power for the pump, and control systems
Step 6: Installing the Pool Shell or Liner
This depends on what kind of pool you’ve chosen:
Options:
- Concrete pools: sprayed with gunite or shotcrete and shaped
- Fiberglass pools: pre-made shells dropped in
- Vinyl liner pools: metal or polymer walls assembled, then covered with a liner
Step 7: Backfilling and Compacting
Now that the pool is in, it’s time to fill the gaps around it.
Steps Involve:
- Fill in soil or gravel around the pool walls
- Compact it to avoid sinking later
- Start shaping the backyard around the pool
Step 8: Installing Pool Equipment
Now we set up the tools that keep your pool running.
This includes:
- Pump and filter system
- Heater (optional)
- Chlorinator or salt system
- Automation controls (for smart pools)
Step 9: Decking and Landscaping
Let’s make your pool area look stunning!
Steps Involve:
- Pour concrete decking or lay pavers around the pool
- Add fencing if required by law
- Set up landscaping: grass, stone paths, or lighting
Step 10: Filling the Pool with Water
Here comes the fun part—adding water!
Steps Involve:
- Use a garden hose or water truck
- Fill the pool to the proper level
- Make sure all systems are working as the water level rises
Step 11: Testing and Balancing the Water
Before you swim, the water needs to be safe and clean.
What to check:
- pH level
- Chlorine or salt levels
- Alkalinity and stabilizer.
Conclusion
Installing an inground pool is a big project; but breaking it into simple steps makes it easier to understand. From planning to the first splash, every phase is important to ensure a safe, beautiful, and long-lasting backyard oasis.
Whether you’re dreaming of pool parties, relaxing swims, or just a great spot to cool off in summer, now you know what it takes to make that dream real.

