The Installation of an Above-Ground Pool: A Step-by-Step Guide for Homeowners
Introduction
Thinking about diving into a summer of fun right in your backyard? Installing an above-ground pool could be your perfect solution! It’s cost-effective, easier to manage than in-ground pools, and offers flexibility you won’t get elsewhere. Whether you’re going full DIY or just want to understand the process, this guide breaks down the above-ground pool installation process into clear, actionable steps.
Why Choose an Above-Ground Pool?
Cost-Effectiveness
One of the top reasons homeowners go for above-ground pools? The price tag. You can get a good-quality setup at a fraction of the cost of an in-ground pool—think $2,000 to $10,000 instead of $30,000+.
Quick Installation
In-ground pools take weeks to install. Above-ground pools? You could be swimming by the weekend!
Ideal for Smaller Yards
Have a compact backyard? No problem. Above-ground pools come in many sizes and can be tailored to your available space.
Easy Maintenance
Maintaining an above-ground pool is far simpler. Less water, fewer chemicals, and no expensive repairs to underground plumbing.
Portability
Need to move? Many above-ground pools can be disassembled and relocated, making them semi-permanent investments.
Pre-Installation Considerations
Local Building Codes and Permits
Before digging or leveling anything, check with your municipality. Many areas require permits—even for temporary pools. This helps ensure safety and compliance with zoning rules.
Choosing the Right Pool Type
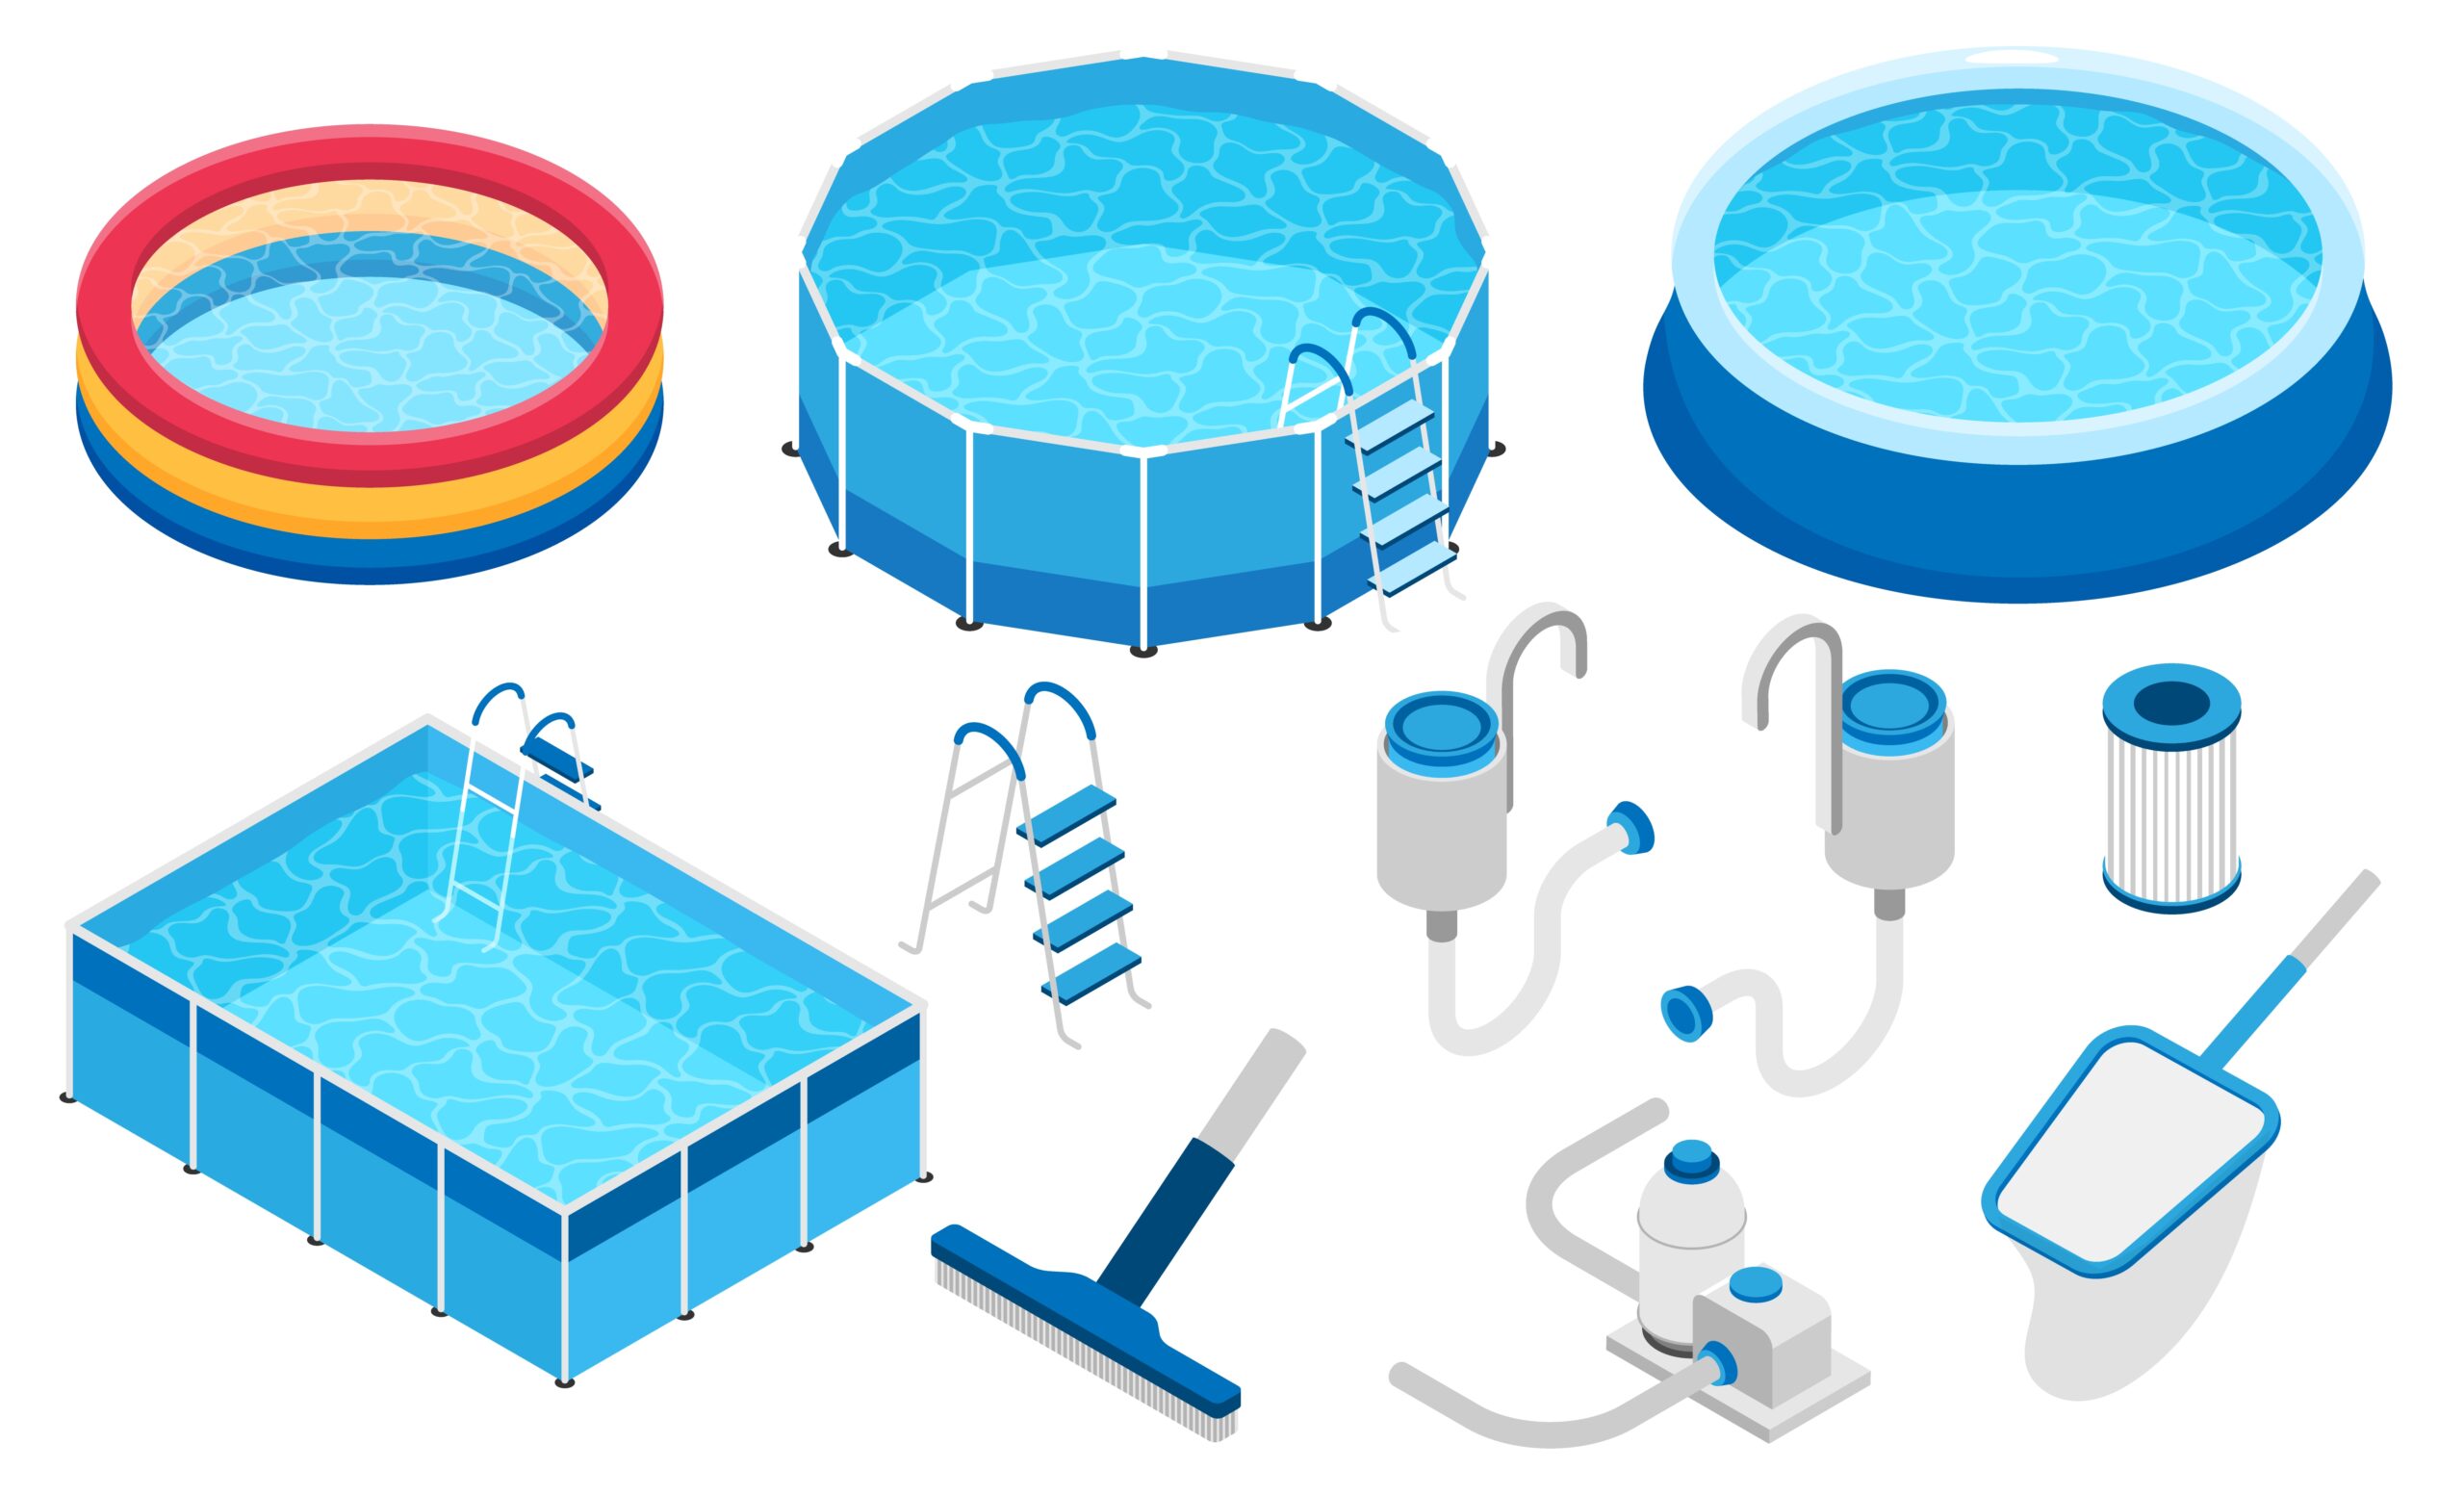
There are several types to consider:
- Metal Frame Pools – Sturdy and long-lasting.
- Inflatable Ring Pools – Great for kids and easy to set up.
- Hybrid Pools – A mix of resin and metal for added durability.
Step-by-Step Installation Guide
Step 1: Pick the Right Location
Choose a level, sunny spot that’s free from tree roots, rocks, or utility lines.
Avoid Overhead Power Lines and Tree Roots
Safety first make sure the site is clear from hazards.
Drainage and Sunlight
The area should drain well and get plenty of sunlight to help heat the water naturally.
Step 2: Gather Supplies and Equipment
You’ll need:
- Pool kit (liner, wall panels, pump, filter, skimmer)
- Ground cloth or sand
- Leveling tools
- Rake, shovel, tamper
- Wrench/screwdriver
- Garden hose and water source
Step 3: Prepare the Ground
Clearing and Leveling
Remove all grass, rocks, and roots. A flat surface is non-negotiable. An uneven base can cause your pool to collapse.
Creating a Solid Base
Spread a layer of sand (or foam padding), then tamp it down for a smooth and compact foundation.
Step 4: Assemble the Pool Frame
Lay out the bottom ring and start connecting the sidewall panels according to the manual.
Following the Manual
It sounds basic, but the manual is your best friend here. Each pool design has unique assembly steps.
Securing the Structure
Double-check every bolt and connection. A wobbly frame leads to trouble down the road.
Step 5: Install the Pool Liner
Carefully drape the liner inside the frame.
Types of Liners
- Overlap Liners – Hang over the top edge and clamp down.
- Beaded Liners – Fit into a track around the pool’s edge.
Best Practices
Install on a warm day—it makes the liner more flexible and easier to smooth out.
Step 6: Fill the Pool with Water
Start slowly. As the water rises, continue adjusting the liner to remove wrinkles.
Smoothing the Liner During Filling
Don’t rush! If the liner folds or stretches unevenly, it can tear under water pressure.
Step 7: Connect the Filtration System
Set up the pump, skimmer, and filter.
Priming the Pump and Testing
Make sure to prime the pump before running it. Then, test circulation to catch any issues early.
Step 8: Add Chemicals and Test Water
Now that your pool’s full, it’s time to make it swim-safe.
Balancing Water Chemistry
Use a water testing kit to check for:
- pH (7.2–7.6 is ideal)
- Free chlorine
- Total alkalinity
- Cyanuric acid (stabilizer)
Benefits of Proper Installation
Safety and Stability
A level and properly supported pool prevents tipping, leaking, and injuries.
Long-Term Durability
Get more seasons out of your liner and frame by avoiding shortcuts during setup.
Energy Efficiency and Clean Water
A correctly installed filtration system keeps water crystal clear and energy bills down.
Aesthetic Appeal
No one wants a crooked pool in their backyard. Clean lines and a stable build improve your outdoor vibe.
Common Mistakes to Avoid
- Ignoring local codes
- Skipping the leveling process
- Rushing the liner install
- Using poor-quality base material
- Failing to test water chemistry
DIY vs Professional Installation
DIY saves money but requires effort and precision. If you’re unsure, it may be worth hiring professionals—especially for larger pools or sloped yards.
Maintenance Tips for Longevity
- Clean the filter weekly
- Test and balance water 2–3 times a week
- Cover the pool when not in use
- Winterize it properly before freezing temps hit
Conclusion
Installing an above-ground pool might sound like a big task, but it’s totally doable with the right guidance and preparation. Whether you’re a weekend warrior or plan to hire a crew, understanding each phase from picking the spot to balancing the water makes the process smoother and more rewarding. Your backyard oasis is just a few steps away.
At Aquace Pool Services, we specialize in above-ground pool installations, vinyl liner replacements, and full-season maintenance. Get in touch for a free estimate and let us help you make a splash.